Procreate To SVG For Cricut: Convert And Create
Ah, the digital canvas! A place where the colors of your imagination burst into life, creating visions that were once confined to the whispers of your inner muse. The journey from Procreate to SVG for Cricut is an artistic adventure, bridging the gap between digital art and physical masterpiece. Whether you’re a seasoned digital artisan or a playful novice, the path from screen to tangible reality is strewn with creativity and the joy of making.
Key Points:
- Procreate is a powerful app for digital artists, offering a range of custom brushes, layers, and effects.
- SVG files are essential for Cricut machines, as they allow for precision cutting without losing quality when scaled.
- Before converting Procreate artwork to SVG, optimize layers and elements to ensure a smooth transition.
- The conversion process from Procreate to SVG can be done using iPad design apps, desktop design programs, or online file converters.
- When importing SVG files into Cricut Design Space, adjust and edit designs to align with the chosen material settings.
- Troubleshoot common issues with SVG files and Cricut compatibility, such as handling incompatible features and resolving cutting errors.
In this guide, we unfurl the parchment of knowledge, detailing each step in the conversion process – from honing your design in Procreate to witnessing its resurrection in cut-material form. It’s a symphony of pixels and vectors, each playing their unique tune to the rhythm of creativity. Envision thin lines transforming into meticulous cuts, and watch as your digital strokes turn into beautiful vinyl, cardstock, or fabric decors.
Lilly-Mai, your digital sherpa, is here to navigate you through this exciting process. With her palette of tips and techniques, she’ll ensure your path to crafting bliss is as smooth as the glide of a stylus on a glass screen. By the end, you’ll be flitting from Procreate to SVG for Cricut with the grace of a digital swallowtail, ready to bring your artistic visions to the 3D world.
Exploring the Basics of Procreate and SVG Files
Embarking on the Procreate to SVG for Cricut journey requires a fundamental understanding of your tools – the robust Procreate app, and the versatile SVG file format. Mastery over these keystones paves the road to endless creative possibilities, aligning the stars of imagination and crafting precision.
What is Procreate?
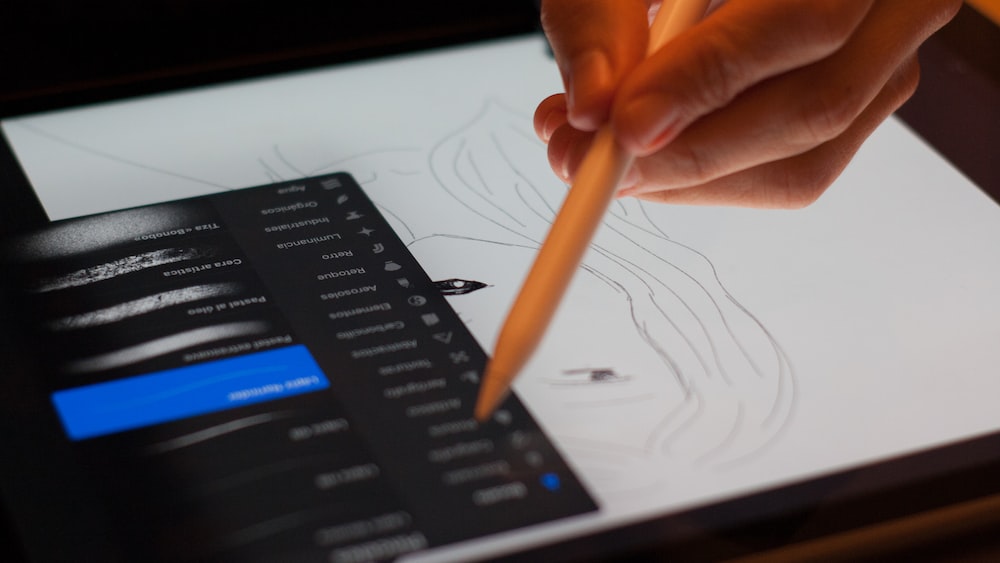
Procreate is more than an app; it’s a magic wand for artists, a realm where every digital brushstroke can conjure worlds. It’s a sanctuary for creativity, offering a cavalcade of custom brushes, layers, and effects on the sleek digital easel of your iPad. Made distinct by its intuitive interface and potent rendering abilities, Procreate is the digital darling of illustrators, graphic designers, and creators alike.
This veiled alchemy allows for swift transitions from rough sketch to polished masterpiece, all at your fingertips. The gestural commands make the artistic dance fluid and dynamic, casting a spell of immediacy and control that traditional media can scarcely rival. Procreate is where your creative pulse quickens, and your artistic journey takes flight.
Procreate is a magical tool that offers a plethora of custom brushes, layers, and effects, enabling swift transitions from rough sketches to polished masterpieces with intuitive gestural commands.
Understanding SVG Files and Their Importance for Cricut
The SVG file format is a treasure chest for crafters, a versatile vector format that Cricut machines read like an open book. Scalable Vector Graphics (SVG) are paramount for those crafting journeys as they hold the key to precision cutting. Unlike pixel-based images, SVG files won’t lose their quality when scaled, ensuring your designs remain crisp and exquisite at any size.
SVGs are the golden bridge between the pixel realms of your digital art and the real-world marvels created by a Cricut cutter. This format translates your Procreate masterpieces into a language that Cricut can understand, turning smooth strokes into precise paths for cutting, sketching, or scoring. For every crafter, mastering the art of SVG conversion is like unlocking a new dimension of creation.
Preparing Your Procreate Artwork for SVG Conversion
Before diving into the enchanted forest of file conversion, one must tend to their Procreate garden. Preparing your artwork for SVG conversion is akin to priming a canvas before a sweep of pigments, a critical step to ensure the transfer of your vision is flawless in form and function.
Optimizing Layers and Elements
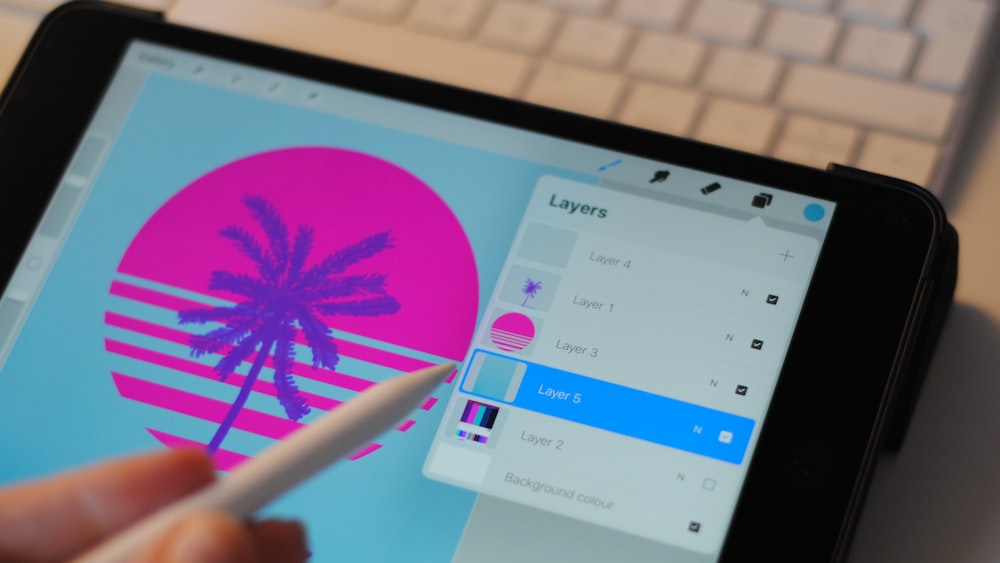
In the realm of pixels, every layer holds a story, a chapter of your artistic narration. Optimizing layers and elements in Procreate is your overture to a harmonious translation of your creative symphony. Begin by simplifying your layers, merging those that share a common destiny in the tangible world. Think of each layer as a future cut-piece; the fewer the layers, the smoother your crafting tale.
Naming your layers with intention is also key, stitching a visible thread through the fabric of your design that even the Cricut can follow with ease. Check for redundant or hidden layers that may result in unexpected cuts, and consider grouping similar elements together to create a cohesive narrative for your cutter to interpret.
Finalizing Your Design for Export
Meticulous preparation ensures your artwork is ready to don the regal SVG cloak. Before finalizing your design for export, glance through your creative kaleidoscope once more, ensuring every detail is polished to perfection. It’s the moment to adjust contrasts, refine edges, and bestow your artwork with the clarity it deserves – a stage where your design must speak clearly, as words to a page.
Remember that some complexities in Procreate might not translate perfectly into SVG nuances. Therefore, embrace a touch of minimalism and practicality. Confirm that your valiant artwork stands bold and defined, commanding the presence it’s due, before it embarks on the Procreate to SVG for Cricut odyssey.
Prepare your artwork meticulously, ensuring every detail is polished to perfection, embracing minimalism and practicality to ensure it translates well into SVG format.
The Conversion Process: Procreate to SVG
Converting your Procreate creation into an SVG file is a wondrous transition, the part where digital art and physical craft dance in a beautiful pas de deux. As you prepare to morph your design into the vector realm, anticipate the gateway to a new dimension of crafting with your Cricut.

Method 1: Using iPad Design Apps
Several design apps exist in the vibrant bazaar of the App Store, offering svg compatibility alongside a multitude of creative tools. To convert Procreate to SVG for Cricut using an iPad, select a trusted design app that can import Procreate files and export them as SVG files. Imagine these apps as translators, deftly converting the rich language of your designs into the sleek dialect of vectors.
Step into the app, and invite your Procreate artwork into this new space where the contours of your work are embraced and revered. Once within, use the app’s functionality to finetune and confirm your design’s details, eagerly preparing them for their SVG transformation. With the press of a button, your art leaps into its new vector suit, eager and tailored for Cricut’s discerning gaze.
Method 2: Desktop Design Programs
When wielding the power of desktop design programs, you are the maestro of a greater orchestration. Programs like Adobe Illustrator or Affinity Designer wield the ability to import Procreate files and offer advanced features to wield your creative vectors with precision. These tools provide a granular level of control, allowing for intricate adjustment of paths and nodes, ensuring your design is Cricut-ready.
Engage with these desktop guardians of graphic prowess by refining edges, perfecting curves, and aligning every vector point with an almost surgical precision. Relish in the capability to deconstruct and reconstruct your design, smoothing each segue from Procreate stroke to flawless SVG file – a tapestry of digital thread waiting to be woven by Cricut’s needle.
Method 3: Online File Converters
For those who tread lightly along the path of software, online file converters offer a beacon of hope – a pillar of simplicity in the cloud. These digital alchemists take your exported Procreate artwork and transmute it into SVG splendor with just a few clicks. With an array of online servants at your beck and call, the conversion process becomes an effortless whisper across the internet.
First, choose a reliable online converter that promises fidelity to your delicate digital brushwork. Upload your file with the confidence of a sculptor entrusting their clay to the kiln. Then, with breath bated, you click to convert. Within moments, the canvas of your browser becomes the birthplace of SVG mastery, the file emerging redefined, and ready for Cricut to breathe life into it.
Step-by-Step Guide to Importing SVG Files into Cricut Design Space
Now venture into the haven of Cricut Design Space, where your SVG file will find its destiny in the dance of creation. Here, we lay a path of clarity, a step-by-step map, revealing how to bring your converted Procreate to SVG for Cricut masterpiece into the realm of physical crafting.
Uploading SVG Files
Step into the command center, Cricut Design Space, armed with your freshly minted SVG files. Look towards the ‘Upload’ button, beckoning like a lighthouse to the lost ships at sea, and click it with the certainty of arriving on familiar shores. Choose your file – this offspring of your creativity – and witness it ascend into the clouds of Cricut’s domain, ready to be molded into whatever reality you deem fit.
Behold as your design appears, a noble silhouette against the stark white of the virtual mat. Here, in this sanctum of craft, you reclaim the reins, guiding and adjusting your vision with the deftness of a conductor’s baton – each move, each decision, bringing you closer to the tangible expression of your digital dreams.
Enter Cricut Design Space, upload your SVG file, and take control of molding your digital design into a tangible expression of your creativity.
Adjusting and Editing Designs in Cricut Design Space
Once your vibrant digital canvas has journeyed from Procreate to SVG for Cricut, it’s time to refine your masterpiece within the realm of Cricut Design Space. Here, you can sculpt your artwork to perfection, aligning it with the design features of your chosen vinyl or cardstock. Tweak the colors of your SVG files with the delicacy of a watercolorist blending hues on a fresh canvas, ensuring each segment conveys the emotion it is meant to express.
Editing in Design Space is akin to a choreographer arranging dancers on a stage – you organize your design elements meticulously, ensuring each layer has its command performance. Using the Edit Panel, adjust scale, rotate to your desired angle, or mirror designs ensuring they cut in the correct orientation for heat-transfer projects. Visualize your composition, and make the necessary changes until each line, each curve, resonates with your artistic intent.
Functionality in this space is a bridge between imagination and reality. Should you wish to transform a simple motif into an intricate pattern, the Duplicate and Align tools await your command. These instruments allow you to create rhythmic repetitions and harmonious arrangements that will dance across your material, cut by the Cricut with the precision of a seasoned artisan’s hand.
Tips for Perfect Cricut Cuts from Procreate SVG Files
Converting your Procreate creations to line SVG files for precision cutting with your Cricut is an art in itself. To achieve flawless cuts, imagine your digital brushstrokes transforming into the tactile world. One must transition from the whimsy of digital art creation to the technical precision that Cricut demands. Envision your masterpiece transitioning from pixel to paper, each cut reflecting the care and detail you imbued in the virtual realm.
Ensuring Proper Line Thickness
When contemplating the passage from Procreate to SVG for Cricut, line thickness is of paramount importance, akin to a painter discerning the right brush for a stroke of genius. Ensure your line work remains bold enough to instruct the Cricut on its path, yet delicate enough to craft the details of your digital dreamscape. For line thickness, a rule of thumb is akin to the width of a pencil line – broad enough for presence, slim enough for grace.
In the lush forests of creativity, think of your SVG lines as tree branches – too frail, and they break under the Cricut’s passage; too robust, and they lose the subtlety of your artwork’s essence. Hence, prepare to walk this tightrope carefully, balancing line thickness to ensure both strength and intricacy in the cuts, as if composing a piece of music that requires both robust notes and tender pauses.
Choosing the Right Material Settings
Embarking on the journey to imprint your Procreate artwork onto physical material requires a sage choice of settings, as one would select the perfect climate for a blooming flower. Material settings are the symphony conductor to your artwork’s performance, guiding the Cricut to harmonize with the chosen substrate – be it delicate vellum or sturdy chipboard.
To achieve this, familiarize yourself with the materials you intend to bring to life. Every material sings its own song, and the Cricut must be attuned to its melody – thus, select the setting that reflects the character and texture of your canvas. The right selection whispers to the machine the pressure, depth, and speed needed to escort your design from digital tableau to tactile masterpiece.
Selecting the right material settings for imprinting your Procreate artwork onto physical material is crucial, as it determines how well your design will transfer from digital to tactile form.
Troubleshooting Common Issues with SVG Files and Cricut
Like a lighthouse guiding ships through treacherous waters, troubleshooting acts as a beacon through the fickle sea of SVG files and Cricut compatibility. Addressing common issues can help ensure your creation cuts as smoothly as a knife through silk. While the Procreate to SVG for Cricut process is mostly seamless, proactive problem-solving keeps the artistic journey devoid of frustration.
Handling Incompatible SVG Features
At times, the files created may host features that are as compatible with your Cricut as oil is with water – clashing when we wish for a harmonious blend. Tackling incompatible SVG features requires the patience of a sculptor chipping away at marble. It might entail simplifying complex vectors or ensuring text is converted to curves to prevent font mismatches – actions that demand the meticulousness of an embroiderer’s careful stitches.
While Procreate is a bastion of creativity, its prowess does need translation through conversion to be comprehensible to the Cricut’s more literal process. Thus, equip yourself with the knowledge of which features translate well, and edit your masterpiece accordingly – like adapting a timeless story for a modern audience.
Resolving Cutting Errors
Resolving cutting errors from SVG files is akin to a potter reshaping a faltering vessel on the wheel – both require a keen understanding of the medium at hand. If the Cricut wanders from the designated path, it is often an indicator of SVG complexities that must be addressed – think of it as editing a poem for rhythm and flow.
Ensure that your design isn’t burdened with excess anchor points or overlapping cut lines which can send the Cricut on an unintended journey. Purify your design by removing these superfluous elements, and observe as your SVG files are cut with the deftness of a master calligrapher’s well-practiced brushstroke.
FAQs
1. Why can’t I directly export SVG files from Procreate?
Procreate does not natively support SVG file export due to its focus as a raster graphics app, designed primarily for creating and exporting bitmap artwork.
2. Can I create multi-layered SVG files for Cricut using Procreate?
Creating multi-layered SVG files for Cricut using Procreate is possible by designing each layer individually and then assembling them during the SVG conversion process.
3. What are the best practices for organizing layers in Procreate before conversion?
The best practices for organizing layers in Procreate before conversion include renaming layers for clarity, merging related layers, and removing any unnecessary elements.
4. How do I ensure my SVG files maintain their quality when used with Cricut?
To guarantee your SVG files maintain their quality when used with a Cricut, apply proper SVG optimization techniques during the conversion process.
Conclusion
Completing the voyage from Procreate to SVG for Cricut stands as a testament to the cosmic ballet between digital innovation and timeless crafts. Whether you’re a novice just dipping your stylus into the technicolor pool or an adept artist with pixels flowing through your veins, this alchemy of art forms is a journey that nurtures the soul and sparks the imagination.
It is in the forging of our electronic brushstrokes into the physical, the canvas to cutouts, that the true magic of our digital age is revealed. Remember, my fellow artists, always let your creativity be as unbound as the stars, ever exploring, ever dreaming, and perpetually weaving your radiant fantasies into the fabric of the world. Live with the courage to make mistakes, for even in the midst of troubleshooting and mastering line thicknesses, there resides a lesson waiting to be learned – a chance to refine our craft and to soar even higher on our next creative endeavor.
May each step of your procreate to svg for cricut journey be filled with wonder and curiosity, and may your cuts be as precise as your vision. Here’s to the dance of pixels and vectors, an intricate tango of art and technology! Until we draw again, farewell, and may your canvas be as bright as the morning sun.
With brushstrokes of warmth, Lilly-Mai
Share with your Friends:
